
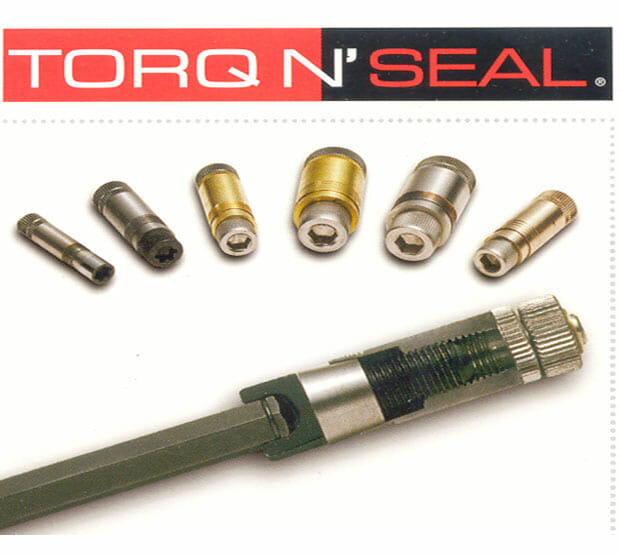
Torq N’ Seal® High Pressure
Click one of the links below to see user instructions related to Torq N’ Seal® Heat Exchanger Tube Plugs:
- High Pressure Tube Plugs
- Plug Selector
- Plug Selection Guide
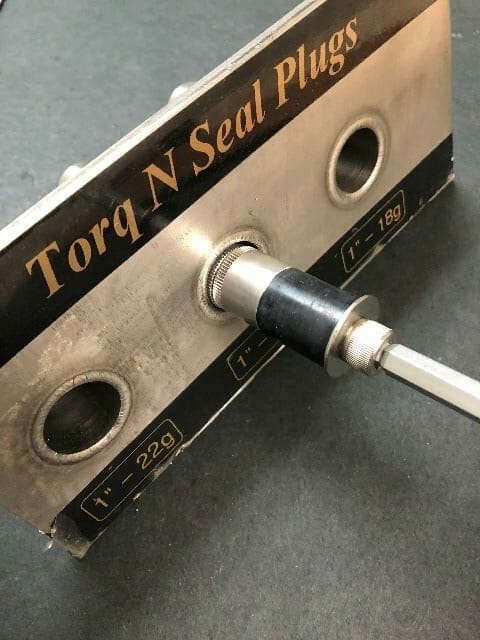
- Installation Instructions
- Removal Procedure
- Tips and Tricks
Click one of the links below to see technical documentation related to Torq N’ Seal® Heat Exchanger Tube Plugs:
Torq N’ Seal® Condenser & Low Pressure Instructions
Click one of the links below to see user instructions related to Torq N’ Seal® Heat Exchanger Tube Plugs:

Other Product Options
Click one of the links below to see our other Heat Exchanger Product Offerings:
High Pressure / Feedwater Heater Tube Plugs
6,500 psi
2,000 deg F
0.300″ to 2.500″
Low Pressure / Condenser Tube Plugs
250 psi
350 deg F
0.580″ to 1.150″
Tapered Pins / Bang ‘Em Home Plugs
0.250″ to 3.000″
Brass, Carbon Steel, Stainless Steel Stock
More materials and sizes available upon request
Can be welded for security
Accessory Tools for Tube Prepping and More
Torque Wrenches
Tube Brushes and Reamers
Tubesheet Ring
and Many More!
Use our Plug Selector to find the right solution for your leaking heat exchangers and place a request for quote.
Click Here for Plug SelectorUse our Plug Selector to find the right solution for your leaking heat exchangers and place a request for quote.
Click Here for Plug Selector