TORQ N’ SEAL® Removal Procedure
Click here for printable PDF version
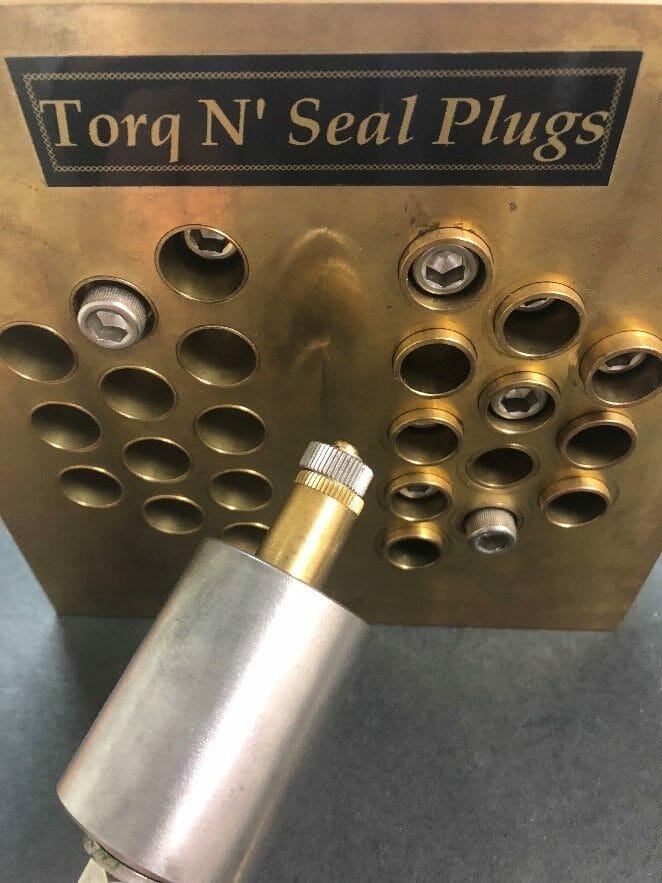
Torq N’ Seal® heat exchanger tube plugs are designed to create a permanent, mechanical contact seal. However, there are some circumstances where the plugs need to be removed. For instance, when it comes time to re-tube a heat exchanger the plugs can be removed so the leaking tube can be pulled out.
Tools You Will Need
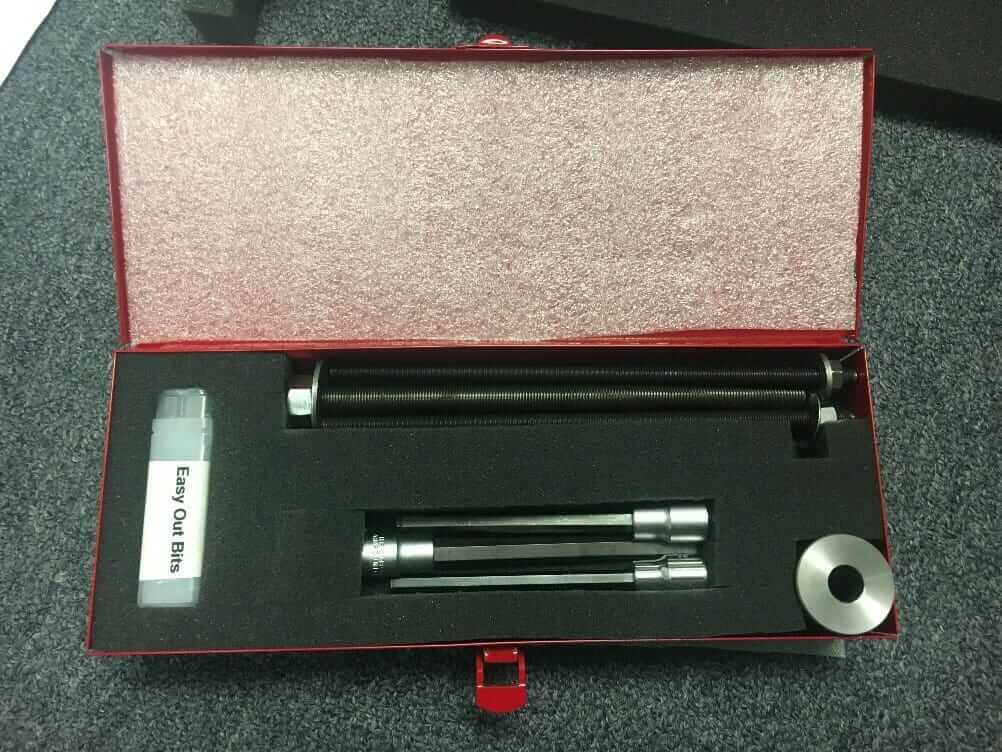
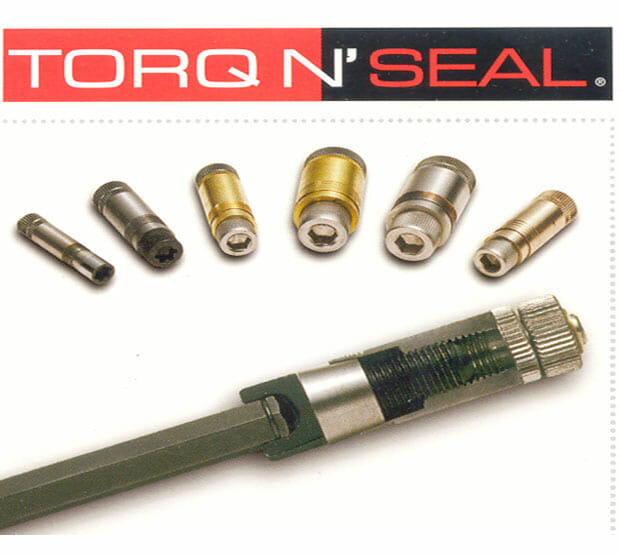
- Torq N’ Seal® Plug Removal Kit (supplied by JNT)
- All 3 sizes Hex Capture Driver
- All 3 sizes Easy Out Bit
- All 3 sizes Jacking Assembly
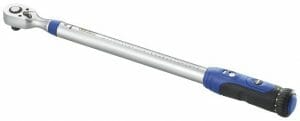
- 3/8” Square Drive Wrench (supplied by Customer)
- 3/8” Crescent Wrench (supplied by Customer)
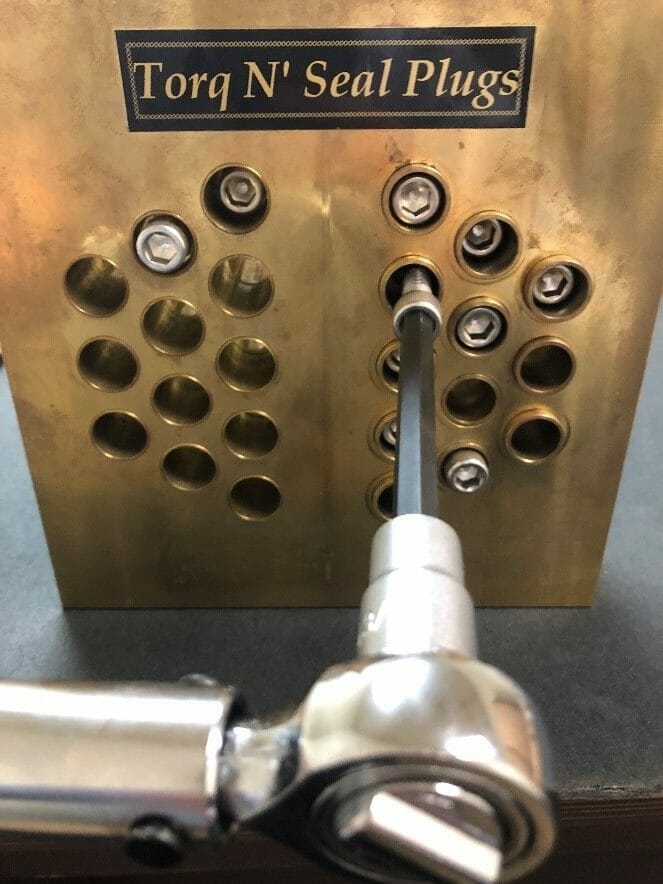
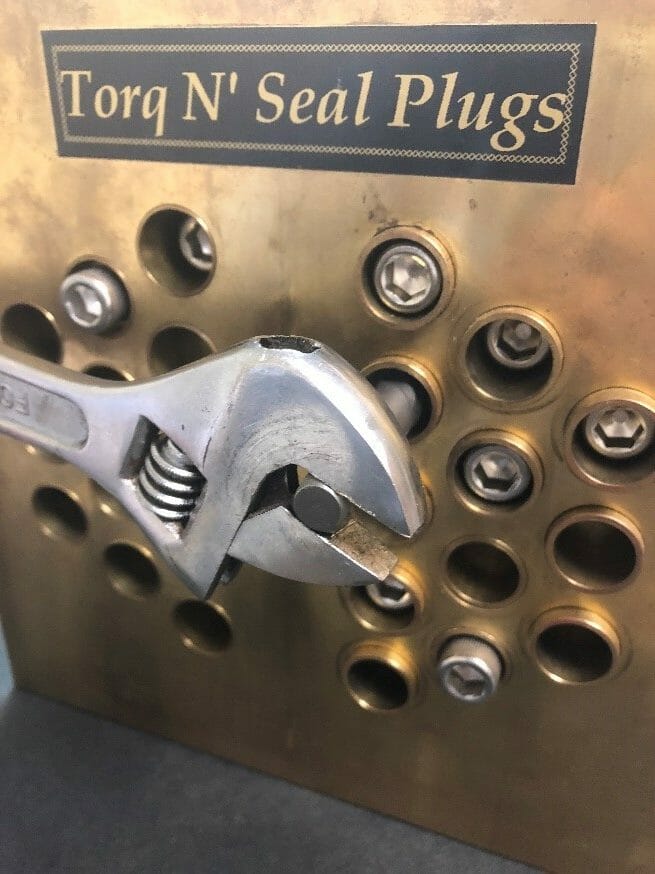
 Remove the Hex Cap Screw
Use the appropriate Hex Capture Driver and a 3/8” Square Drive Wrench to remove the Hex Cap Screw.
- TNS/410-430 to TNS/560-580 —————— 1/4″ Hex Capture Driver
- TNS/570-590 to TNS/710-730 —————— 5/16” Hex Capture Driver
- TNS/740-760 to TNS/980-1000 —————- 3/8” Hex Capture Driver
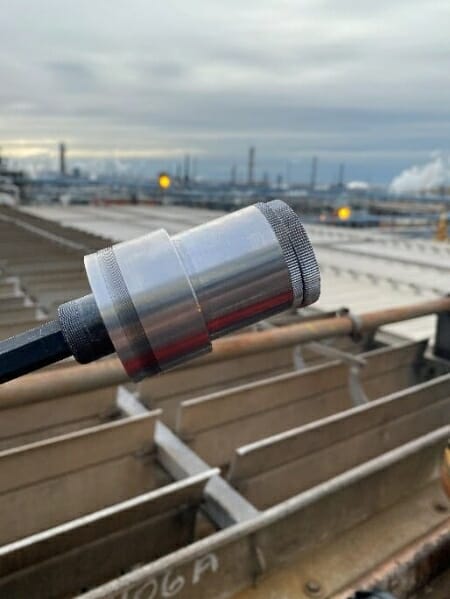
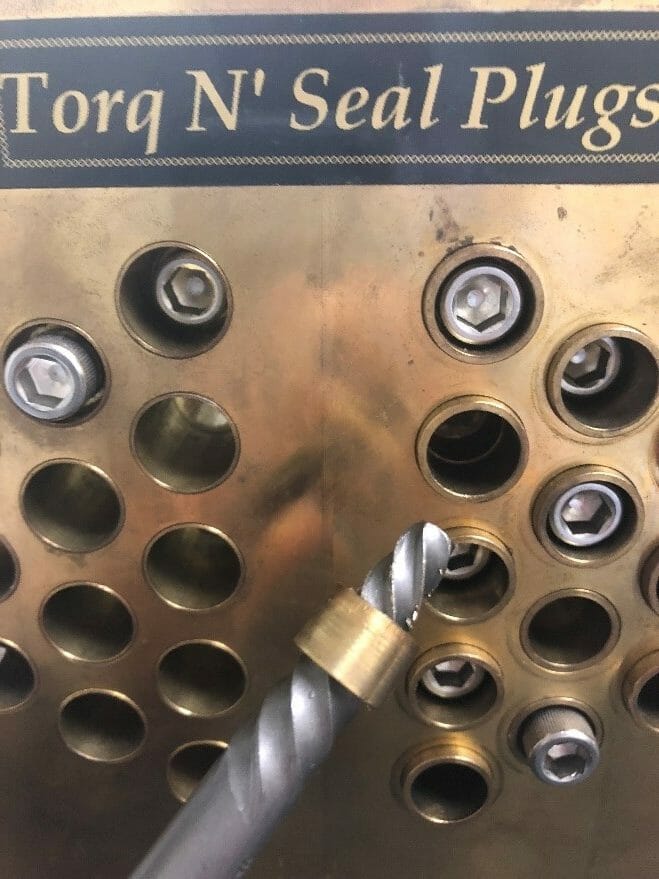
Use the Easy Out Bit to Remove the Ferrule
Use the appropriate Easy Out Bit and the Crescent Wrench to remove the Ferrule from the Plug Body by rotating counter-clockwise. You may need to set the Easy Out Bit into the ferrule by lightly tapping with a hammer.
- TNS/410-430 to TNS/560-580 —————— 1/4″ Easy Out Bit
- TNS/570-590 to TNS/710-730 —————— 5/16” Easy Out Bit
- TNS/740-760 to TNS/980-1000 —————- 3/8” Easy Out Bit
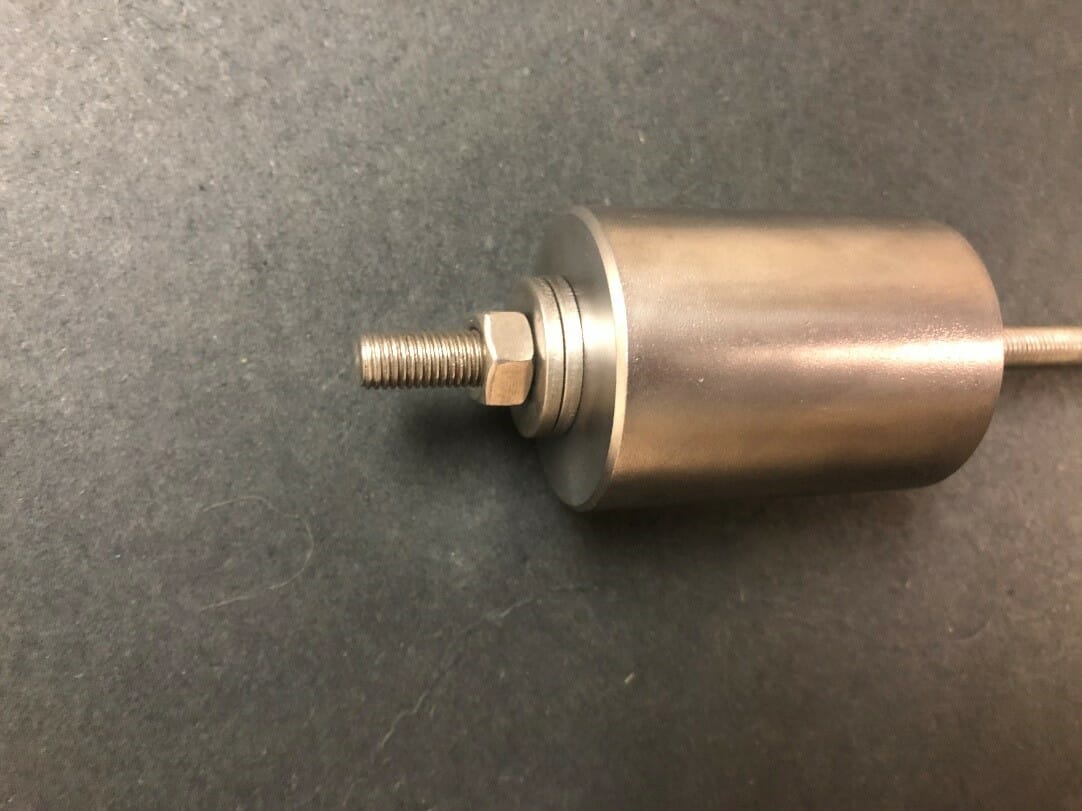
Setup the Removal Tool
Select the appropriate threaded rod and slide it through the stainless steel collar from the small end. Then thread the assembly into the Plug Body.
- TNS/410-430 to TNS/560-580 —————— 5/16″ Threaded Rod
- TNS/570-590 to TNS/710-730 —————— 3/8” Threaded Rod
- TNS/740-760 to TNS/980-1000 —————- 1/2” Threaded Rod
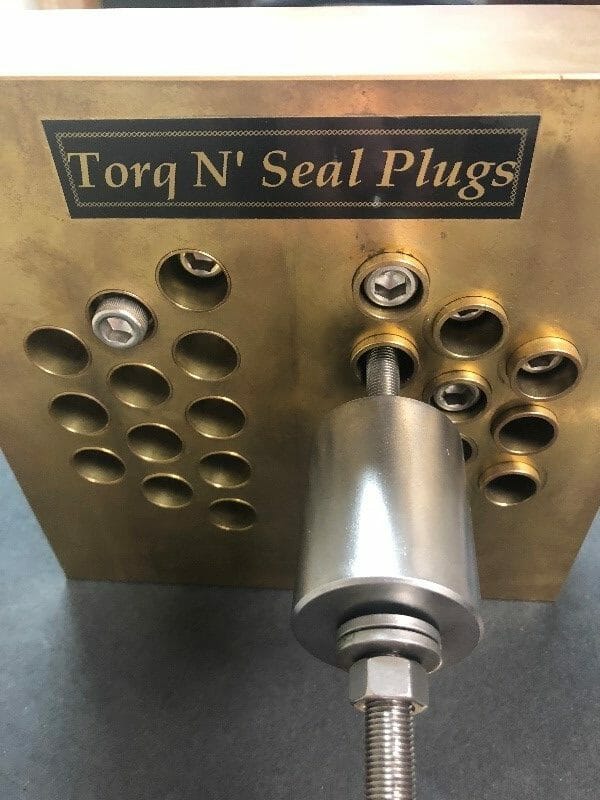
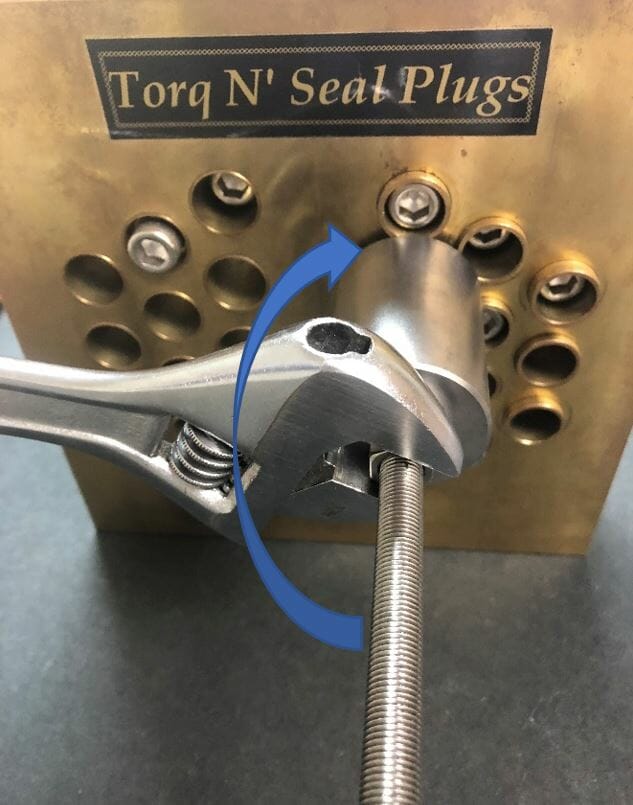
Remove the Plug
Use the Crescent Wrench to slowly turn down the nut and washer clock-wise which will drive the stainless steel collar into the tube sheet face. Continue turning the nut and the plug will be pulled free as the threaded rod is retracted through the stainless steel collar. When the jacking assembly shifts suddenly, the plug is free and you can simply pull it out with the assembly.
Use our Plug Selector to find the right solution for your leaking heat exchangers and place a request for quote.
Click Here for Plug Selector
Torq N’ Seal® High Pressure Instructions
Click one of the links below to see user instructions related to Torq N’ Seal® Heat Exchanger Tube Plugs:

Torq N’ Seal® High Pressure Documentation
Click one of the links below to see technical documentation related to Torq N’ Seal® Heat Exchanger Tube Plugs:
Other Product Options
Click one of the links below to see our other Heat Exchanger Product Offerings:
Use our Plug Selector to find the right solution for your leaking heat exchangers and place a request for quote.
Click Here for Plug Selector